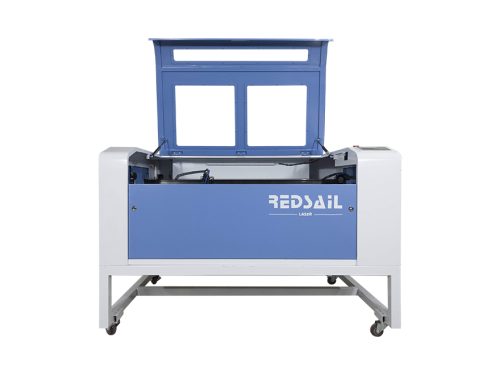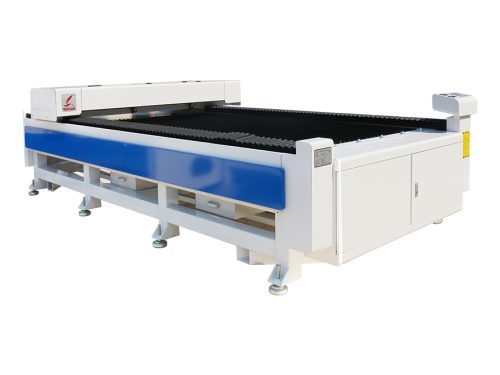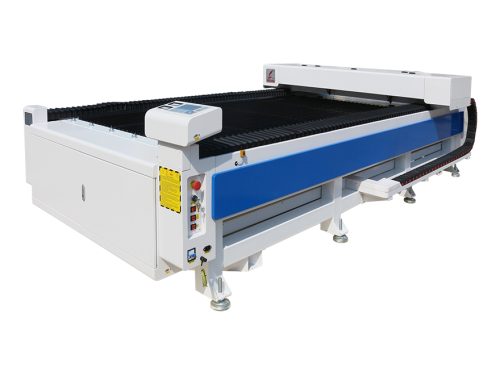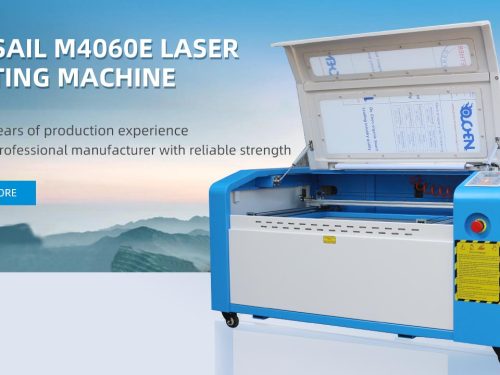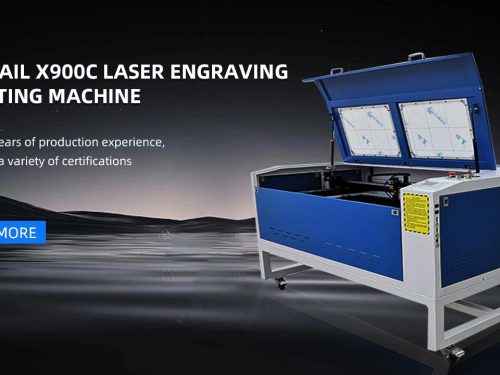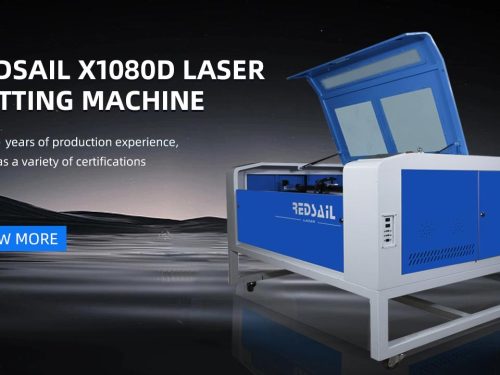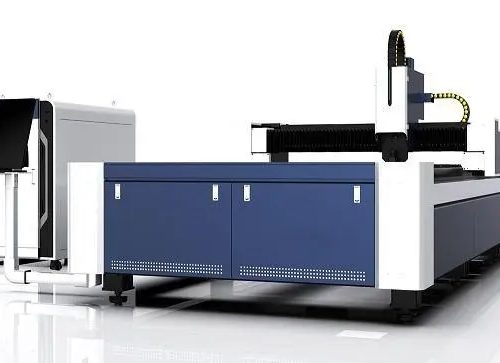
The CNC laser cutting machine must undergo strict quality inspection and precision test before production, so that the equipment can run for 48 hours without interruption. During the operation period, the cutting data and cutting method of the equipment in operation are changed, the response of the test equipment and the cutting efficiency of the cutting gun are tested, etc. Many customers will always ask about the cutting accuracy when purchasing the CNC cutting machine? The accuracy of the cutting machine can be guaranteed to be 0.01mm/step before leaving the factory, and the accuracy error is about ± 0.5mm. This error has been several times higher than the error of the cutting machine itself, but this error is not caused by the equipment itself, but by the thickness of the steel plate, process, cutting nozzle, flame adjustment and other processes during the cutting process. So how to simply test the accuracy of CNC cutting machine.
After the installation of the equipment, a scribing device will be installed on the cutting nozzle of the CNC laser cutting machine, and a simulated cutting figure will be drawn through the scribing device, which is a 1m square. A circle with a diameter of 1m is built in. Diagonal lines are drawn at the four corners. After drawing, use a measuring tool to measure whether the circle drawn is tangent to the four sides of the square. Whether the length of the diagonal of the square is √ 2 (the data obtained by the square root sign is about 1.41m), the central axis of the circle should bisect the sides of the square, and the distance from the intersection point of the central axis and the two sides of the square to the intersection point of the two sides of the square should be 0.5m. The cutting accuracy of the equipment can be determined by testing the distance between the diagonal and the intersection point.


