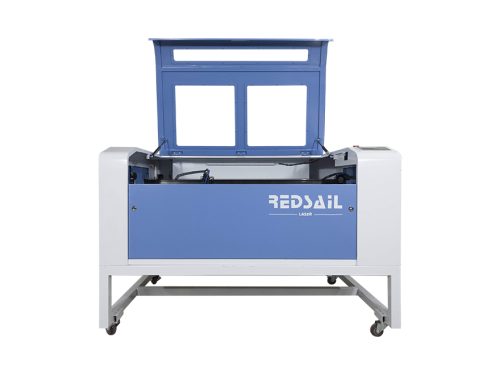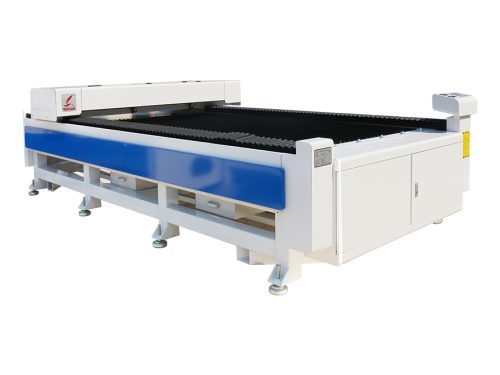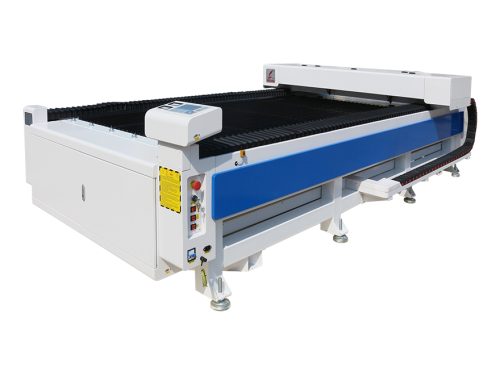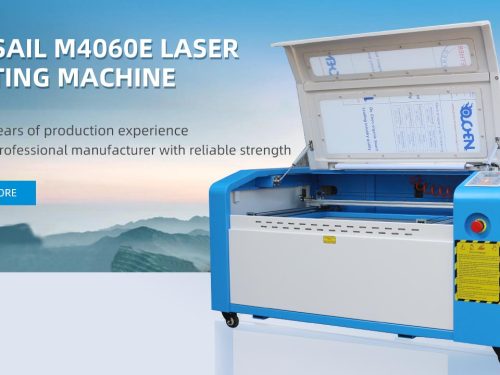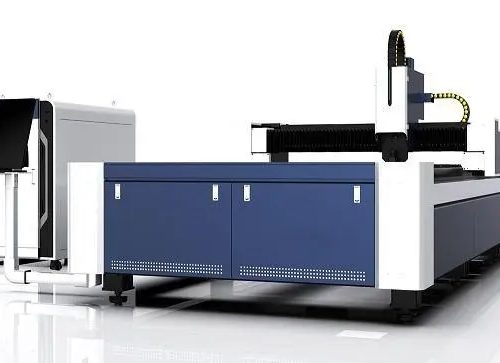
We all know that the stability and accuracy of the machine tool also affect the accuracy and cutting quality of the laser cutting machine, among the factors that affect the accuracy of the fiber laser cutting machine. So how do users judge the stability and accuracy of the machine tool of the fiber laser cutting machine? Please follow the steps of Redsail laser to learn some key points that affect the accuracy of fiber laser cutting machine.
1、 Straightness
1. The straightness of a line in a plane or space, such as the straightness of the guide rail of the CNC horizontal lathe bed;
2. The straightness of components, such as the straightness of the longitudinal reference T-shaped groove of the CNC lifting table milling machine workbench;
3. The straightness of motion, such as the straightness of X axis motion of vertical machining center.
The length measurement methods include: ruler and indicator method, steel wire and microscope method, collimating telescope method and laser interferometer method.
Angle measurement methods include: precision level method, autocollimator method and laser interferometer method.
2、 Flatness (such as the flatness of the worktable of the vertical machining center)
Measuring methods include: flat plate method, flat plate and indicator method, flat ruler method, precision level method and optical method.
3、 Parallelism, equidistance, coincidence
1. Parallelism of line and surface, such as the parallelism of the axis of CNC horizontal lathe to the movement of the slide plate of the main tool carrier;
2. Parallelism of movement, such as the parallelism between the working table of the vertical machining center and the X-axis;
3. Equidistant degree, such as the equidistant degree between the positioning hole of the vertical machining center and the rotary axis of the workbench;
4. Coaxiality or coincidence, such as the coincidence of tool hole axis and spindle axis of CNC horizontal lathe.
5. Measuring methods include: ruler and indicator method, precision level method, indicator and inspection rod method.
4、 Perpendicularity
1. The perpendicularity of the straight line and plane, such as the perpendicularity between the movement of the main axis of the vertical machining center and the X axis;
2. The perpendicularity of the movement, such as the perpendicularity between the Z axis and the X axis of the vertical machining center.
3. Measuring methods include: ruler and indicator method, angle ruler and indicator method, optical method (such as autocollimator, optical angle ruler, and radiometer).
5、 Rotation
1. Radial runout, such as the radial runout of the chuck locating cone at the spindle end of the CNC horizontal lathe, or the radial runout of the spindle locating hole.
2. Periodic axial movement, such as the periodic axial movement of the spindle of CNC horizontal lathe;
3. End face runout, such as the runout of the locating end face of the NC horizontal lathe spindle.
4. Measuring methods include: indicator method, inspection rod and indicator method, steel ball and indicator method.


