Setting up your CO2 laser cutter properly is essential for getting the best results from your machine. Whether you’re a seasoned professional or a beginner, this comprehensive guide will walk you through the process step by step.
Step 1: Unpacking and Assembly
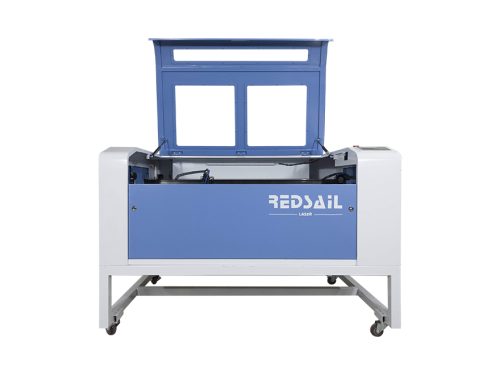
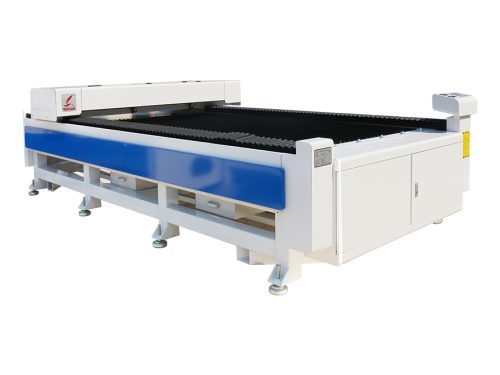
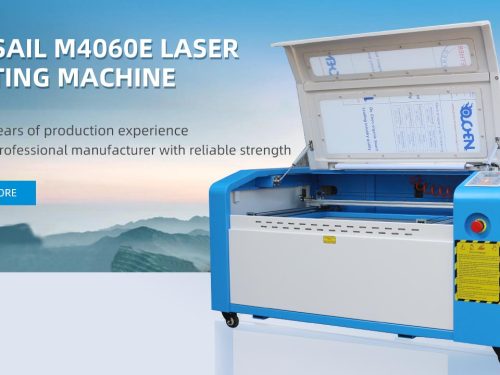
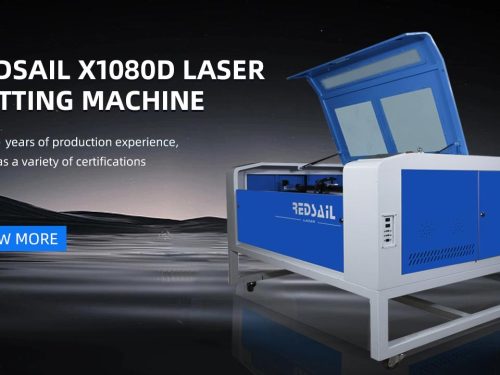
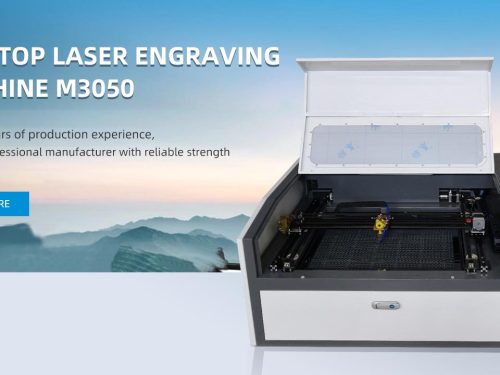
When your CO2 laser cutter arrives, carefully unpack the components and follow the manufacturer’s instructions for assembly. Make sure all components are securely connected and aligned before proceeding to the next step.
Step 2: Power and Air Supply
Proper power and air supply are crucial for the operation of your CO2 laser cutter. Ensure that the machine is connected to a stable power source and that the air assist system is properly connected to provide a constant flow of air to the cutting area.
Step 3: Software Installation and Calibration
Install the necessary software for your CO2 laser cutter and calibrate the machine according to the manufacturer’s specifications. This may involve adjusting the laser power, speed, and focus to ensure precise cutting and engraving results.
Step 4: Material Preparation
Select the appropriate material for your project and prepare it for cutting or engraving. Make sure the material is securely fastened to the cutting bed and that any protective coatings or layers are removed before proceeding.
Step 5: Safety Precautions
Before using your CO2 laser cutter, familiarize yourself with the safety precautions recommended by the manufacturer. This may include wearing protective eyewear, ensuring proper ventilation, and following safe operating practices at all times.
Step 6: Testing and Troubleshooting
Once your CO2 laser cutter is set up and ready to go, perform a test run to ensure everything is working properly. Take note of any issues or errors that arise and refer to the manufacturer’s troubleshooting guide for solutions.
Step 7: Maintenance and Upkeep
Regular maintenance and upkeep are essential for keeping your CO2 laser cutter in top condition. Clean the machine regularly, replace any worn parts, and follow the manufacturer’s recommendations for long-term care and maintenance.
Conclusion
By following this guide, you can confidently set up your CO2 laser cutter and start producing high-quality cuts and engravings. Remember to refer to the manufacturer’s instructions and user manual for specific guidance related to your machine.
FAQs
Q: Can I use my CO2 laser cutter without ventilation?
A: It is highly recommended to use a CO2 laser cutter with proper ventilation to remove fumes and debris generated during the cutting process.
Q: What materials can I cut with a CO2 laser cutter?
A: CO2 laser cutters are versatile and can cut a wide range of materials including wood, acrylic, leather, and more. However, it’s important to consult the machine’s specifications for material compatibility.
Q: How often should I clean and maintain my CO2 laser cutter?
A: Regular cleaning and maintenance are essential for the longevity of your CO2 laser cutter. Follow the manufacturer’s recommendations for specific maintenance intervals and procedures.